Okta SSO
Please follow the steps below to integrate Okta single sign-on (SSO) with the O’Reilly learning platform.
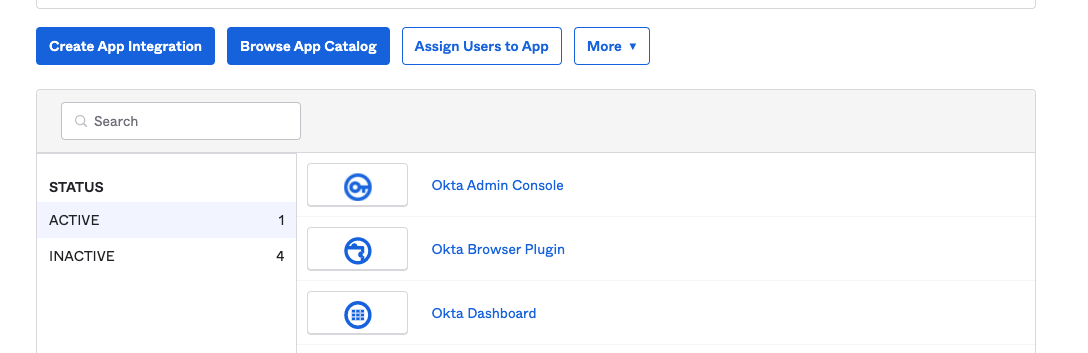
In the Okta Developer Console, navigate to Applications and click Create App Integration.
-
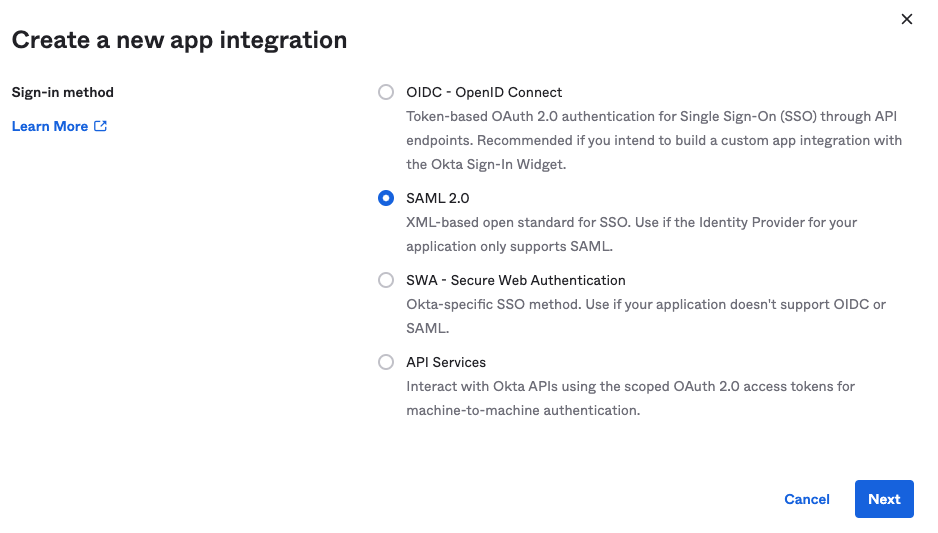
Under Create a new app integration, select SAML 2.0.
-
In General Settings, change the display name to “O’Reilly” and add the O’Reilly logo. Our logo can be downloaded here. (The best option is OReilly_logo_rgb.png.)

-
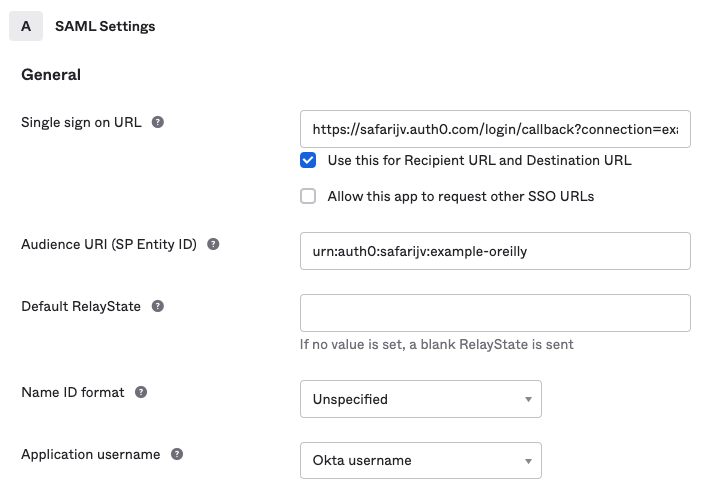
In SAML Settings, add your single sign-on URL (ACS URL) and audience URI (SP entity ID), provided by the O’Reilly platform integration team member you’re working with.
-
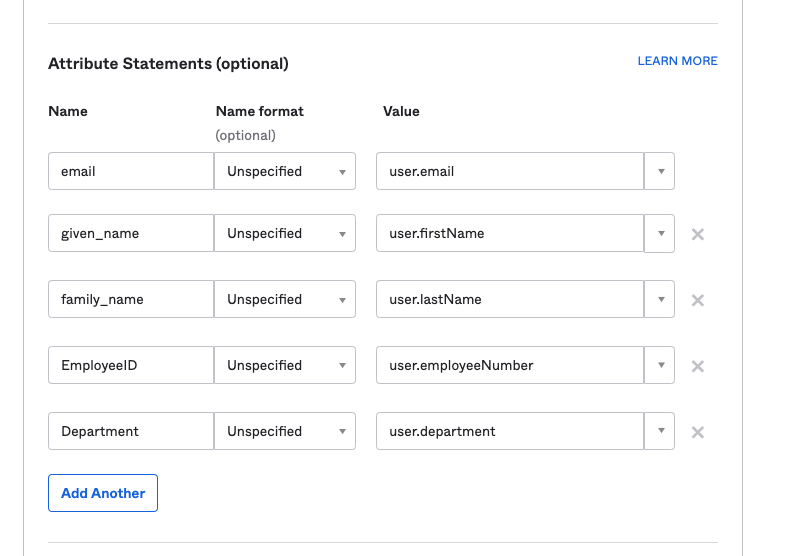
In Attribute Statements, add the required fields (email address, given_name, and family_name), plus any additional flex fields your organization would like to include. Once you’ve selected all desired attributes, click Next.
In this example, we’ve added EmployeeID and Department fields.
-
Select “I’m an Okta customer adding an internal app” and “It’s required to contact the vendor to enable SAML.” If you’d like, you can then answer the open-ended questions. Click Finish.

-
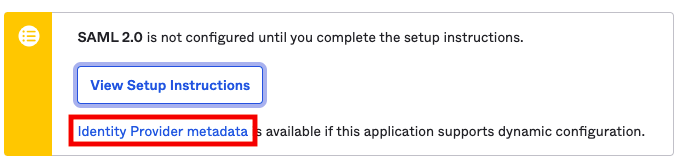
Once you’ve clicked Finish, Okta will take you to the settings tab of this new custom application. Click Identity Provider metadata to open the metadata in a browser window, and send the URL to the O’Reilly platform integration team member you’re working with. They’ll use details from your metadata to update the O’Reilly side of the SSO integration.
Once the SP side of the integration has been updated with your IdP metadata, the O’Reilly platform integration team will let you know when it’s ready for you to test.