OneLogin SSO
Please follow the steps below to integrate OneLogin single sign-on (SSO) with the O’Reilly learning platform.
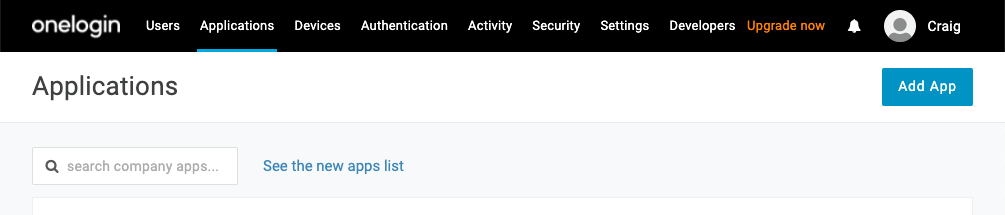
Log in to the OneLogin administrator dashboard and select Applications from the navigation bar. Click Add App.
-
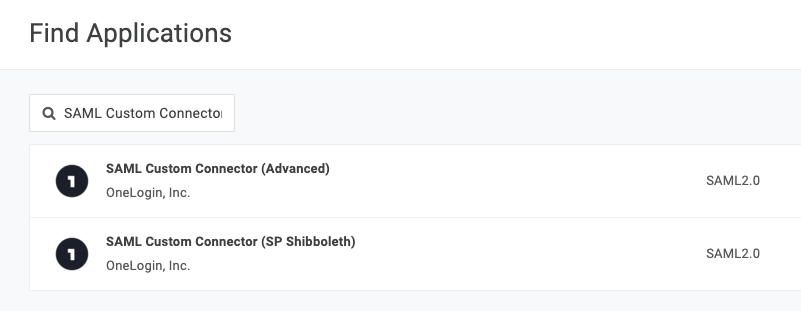
In Find Applications, search for “SAML Custom Connector” and select SAML Custom Connector (Advanced).
-
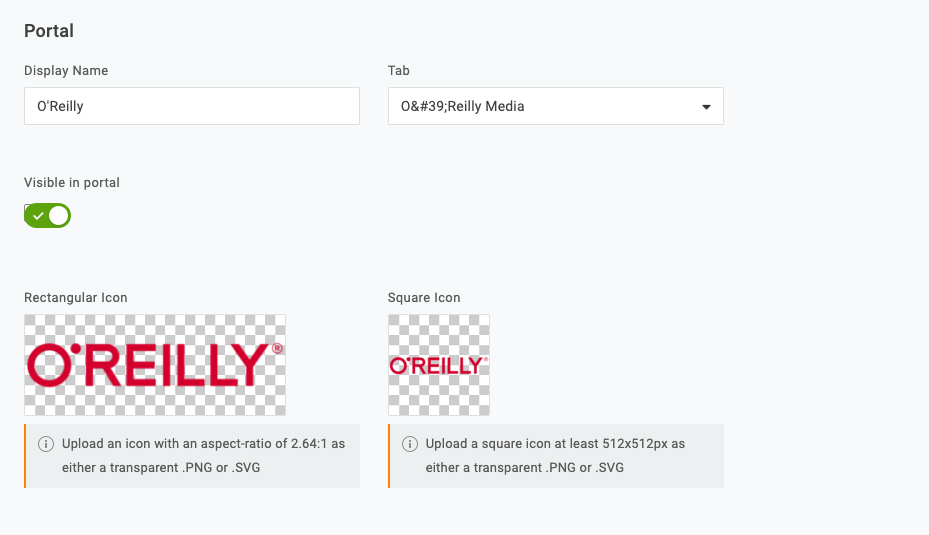
Change the display name to “O’Reilly” and update other items on the initial configuration page. Our logo for the icon fields can be downloaded here. (The best option is OReilly_logo_rgb.png.) When you’re finished, click Save.
-
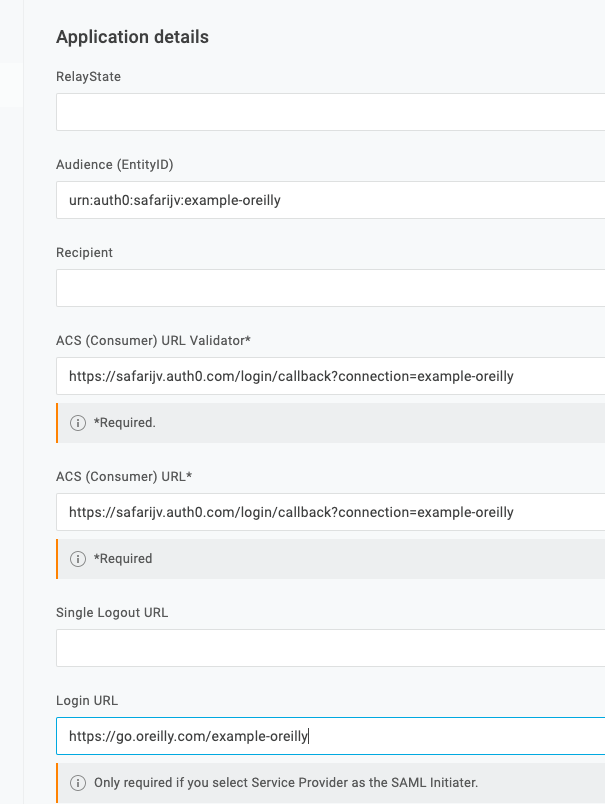
Click the Configuration tab on the left and complete the following fields with the details provided by the O’Reilly platform integration team member you’re working with.
-
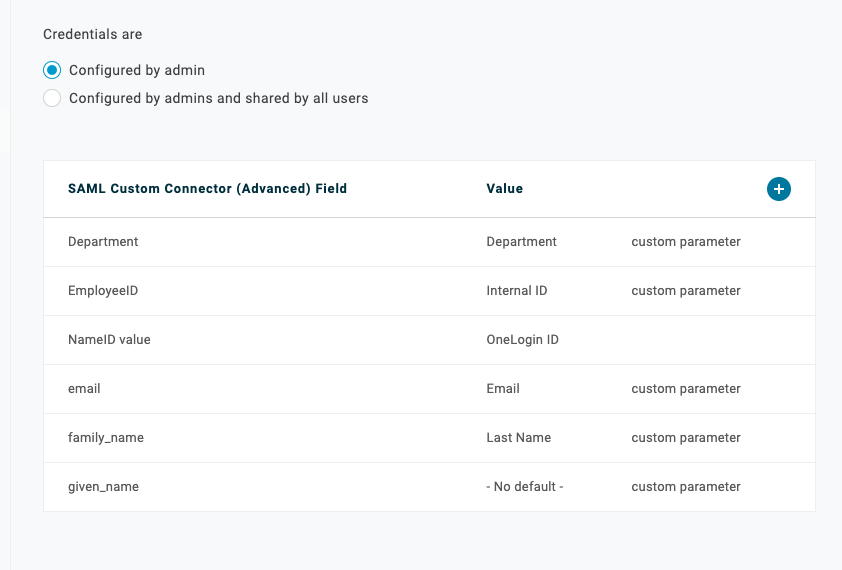
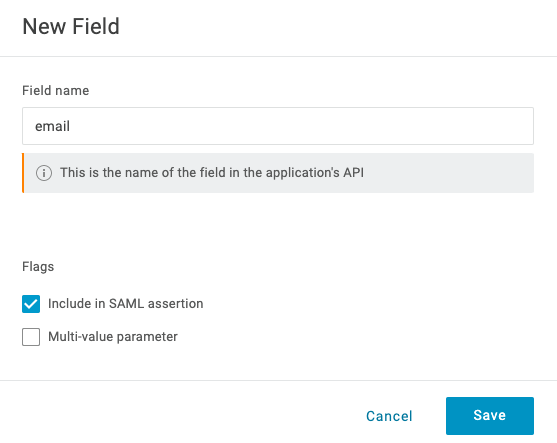
Click the Parameters tab on the left and add the required fields, plus any additional flex fields your organization would like to include. We require a NameID, email, family_name, and given_name. For each attribute, make sure to select “Include in SAML assertion.”
In this example, we’ve added Department and EmployeeID fields.
-
When you’ve selected the desired attributes, click Save in the upper right. Then from the More Actions menu, select SAML Metadata and save the IdP metadata XML file. Please email this to the O’Reilly platform integration team member you’re working with. They’ll use details from your metadata to update the O’Reilly side of the SSO integration.
